After a solid month of shooting with the Sigma Sd Quattro H which for the purpose of my sanity I will abbreviate to SDQH for this article, I can talk with with some useful knowledge about the pro's and con's of this camera.
Specs-
Lens Mount- Sigma SA
Camera Format- APS-H (1.3x Crop Factor)
Pixels Actual: 45 Megapixel
Effective: 44.8 Megapixel
Max Resolution- 25.5 MP: 6192 x 4128
Aspect Ratio- 3:2
Sensor Type / Size- CMOS, 26.6 x 17.9 mm
File Formats- Still images: JPEG, RAW
Bit Depth- 14-bit
Memory Card- TypeSD, SDHC, SDXC
Image Stabilization- None
Iso Range- 100-6400
Shutter Type/ Speed- Electric or Mechanical, 1/4000th of a sec
Flash Sync Speed- 1/180th of a sec
Size: 5.8 x 3.7 x 3.6 in. (147 x 95 x 91 mm)
Review-
Using this camera for mainly portraiture so I will review it as portrait camera, so far I haven't been able to use this camera for landscapes which I know it will succeed in that form as well. This camera has been used for two professional shoots, one during a quite rainy day which to be honest terrified me, but with the sealing on this camera and the 85mm Art it held up quite well. That leads me to the issue of durability and build quality.
The camera itself is build like a tank especially considering it is only $1200 hundred dollars at time of writing. The fit and finish is top notch, the camera is made from a magnesium alloy and covered in a leather-est type of plastic that has a very pleasing feel. The camera itself is surprisingly light considering it's size, but that pleasant fact is negated quite quickly by the length and weight of the Art Series of lenses by Sigma. The camera is also very well sealed against the elements in the form of a seal around the lens mount and sealed ports as well as the battery compartment which I have heard described as a submarine door, it is a twist lock and seal which has very quality feel to it. The buttons have very solid feel to them and in my opinion is that they won't wear out easily. The dials have very definite clicks and are very well implemented on the body and are easy to reach. As to whether the body is comfortable to hold I had my doubts if it would be comfortable but i was pleasantly surprised as it was very comfortable to hold and shoot even after a relatively long shoot.
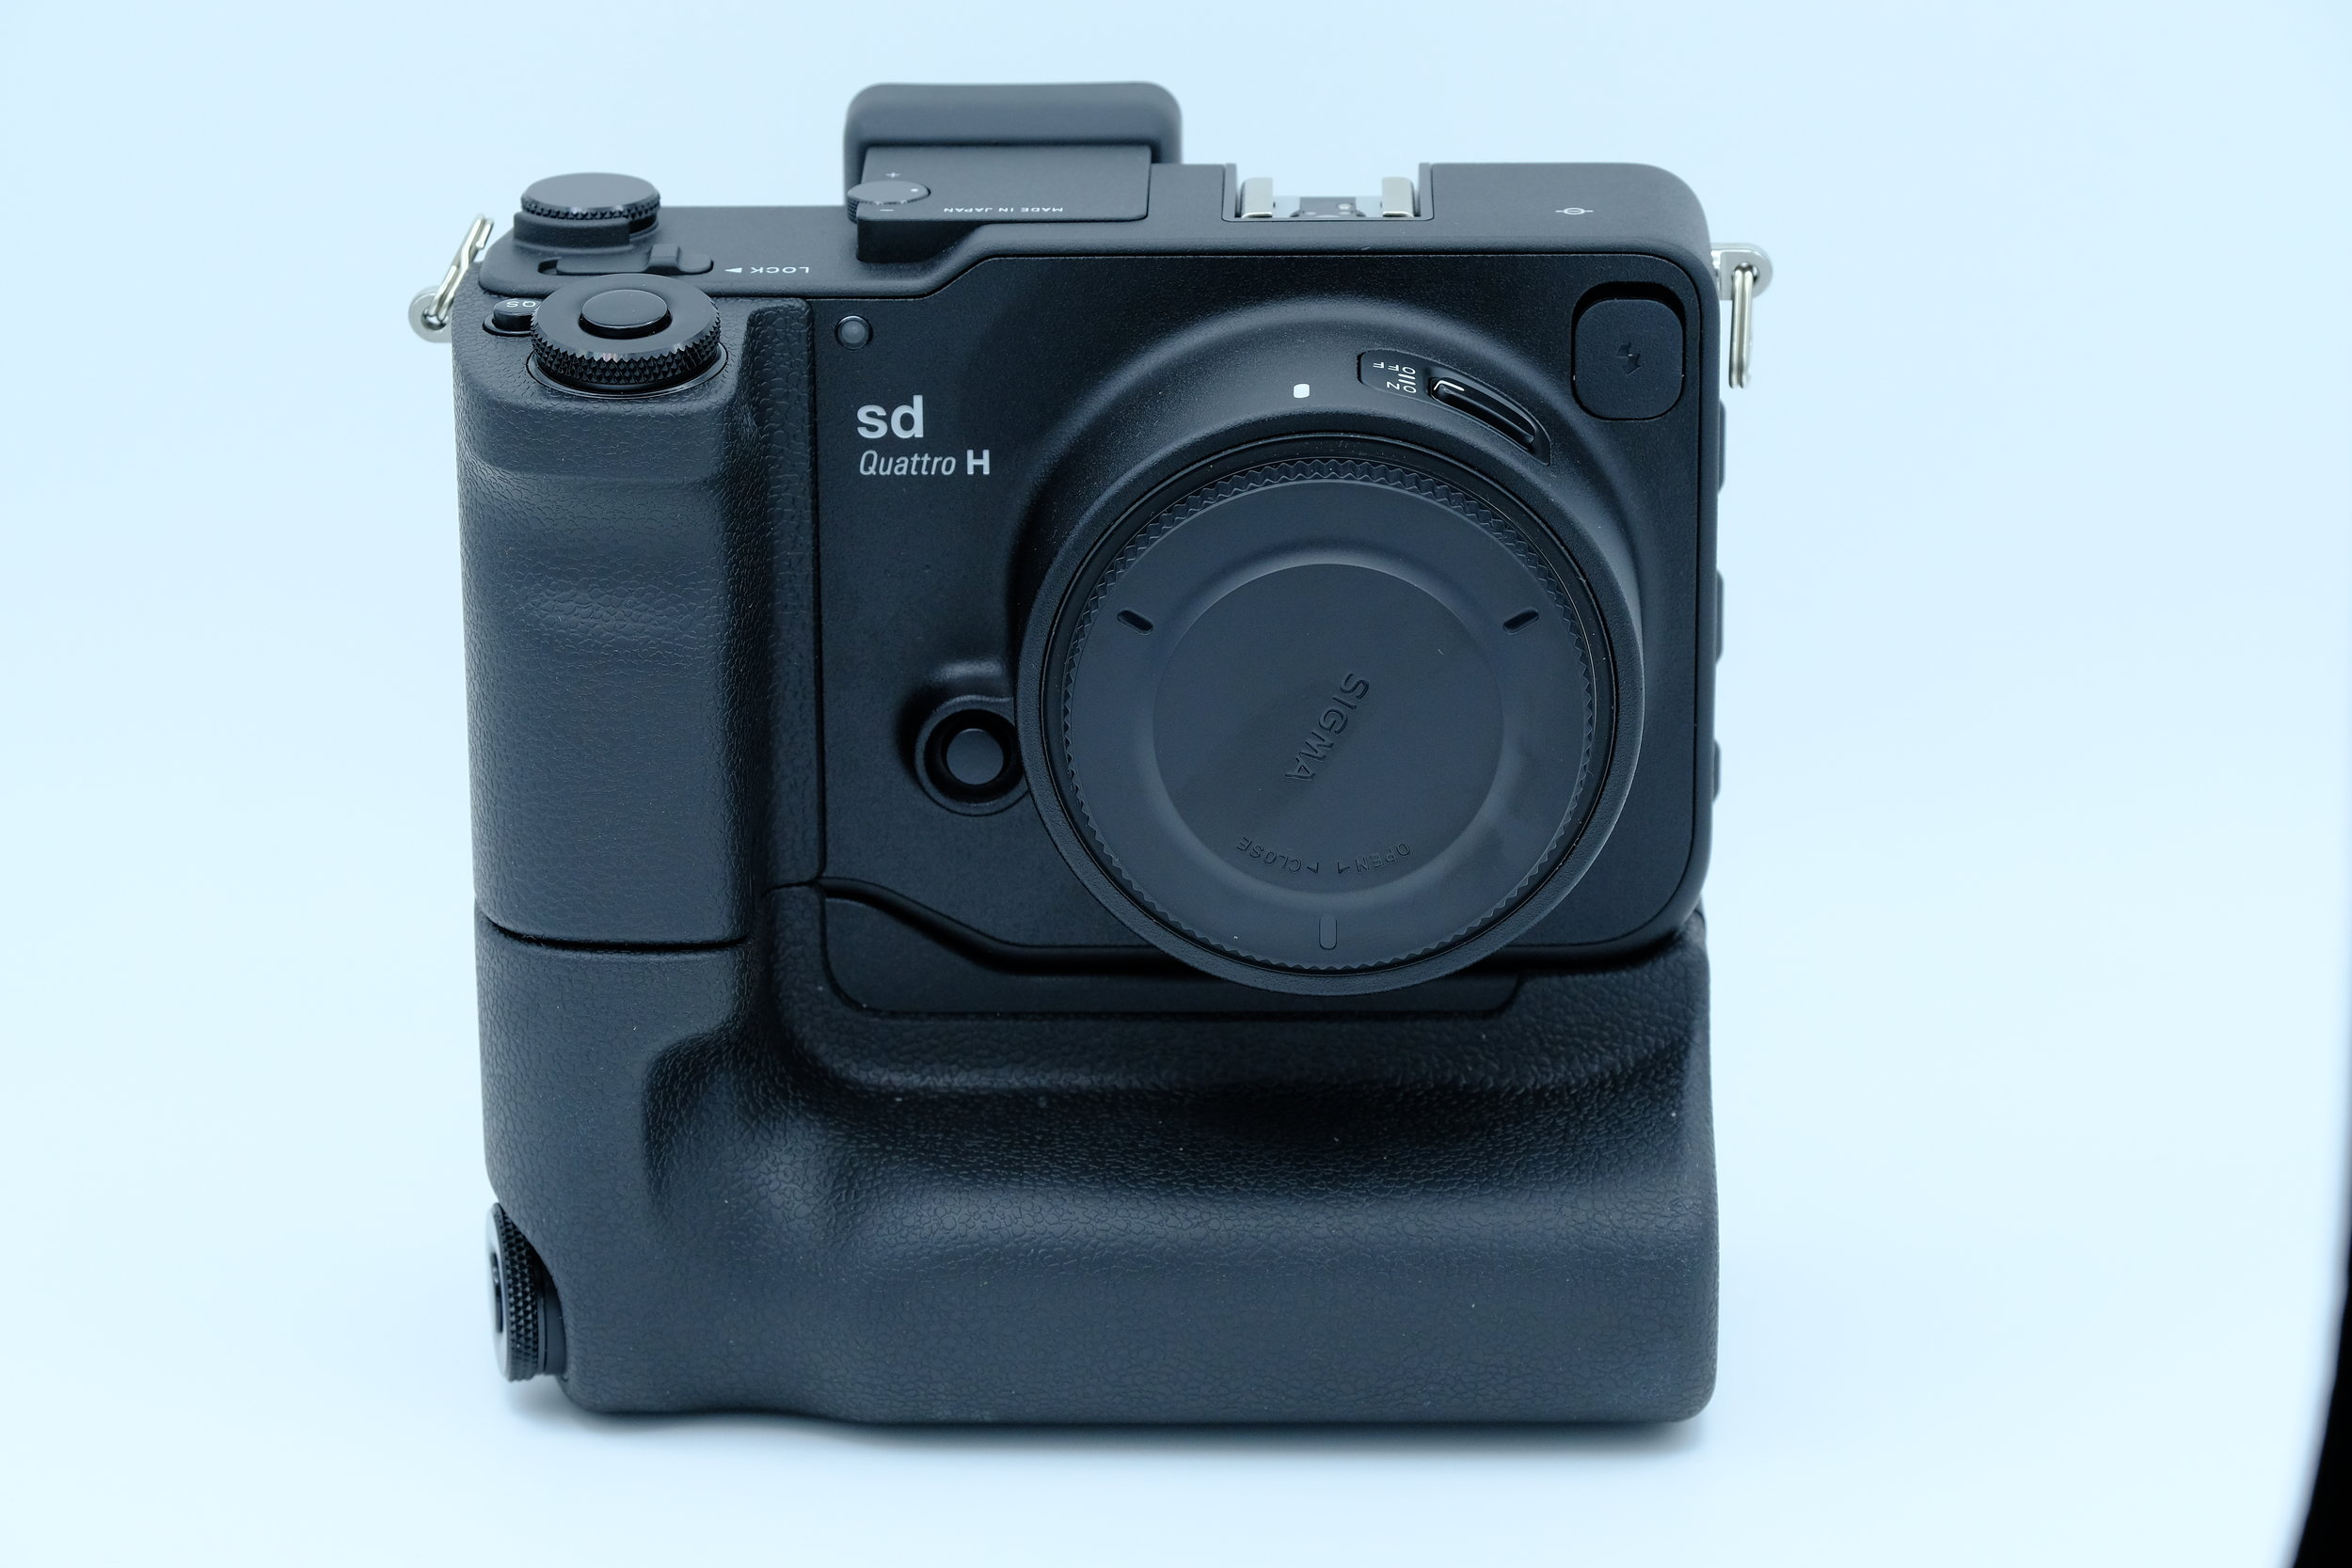
Sigma Sd Quattro H with Pg-41 power grip by Sigma.
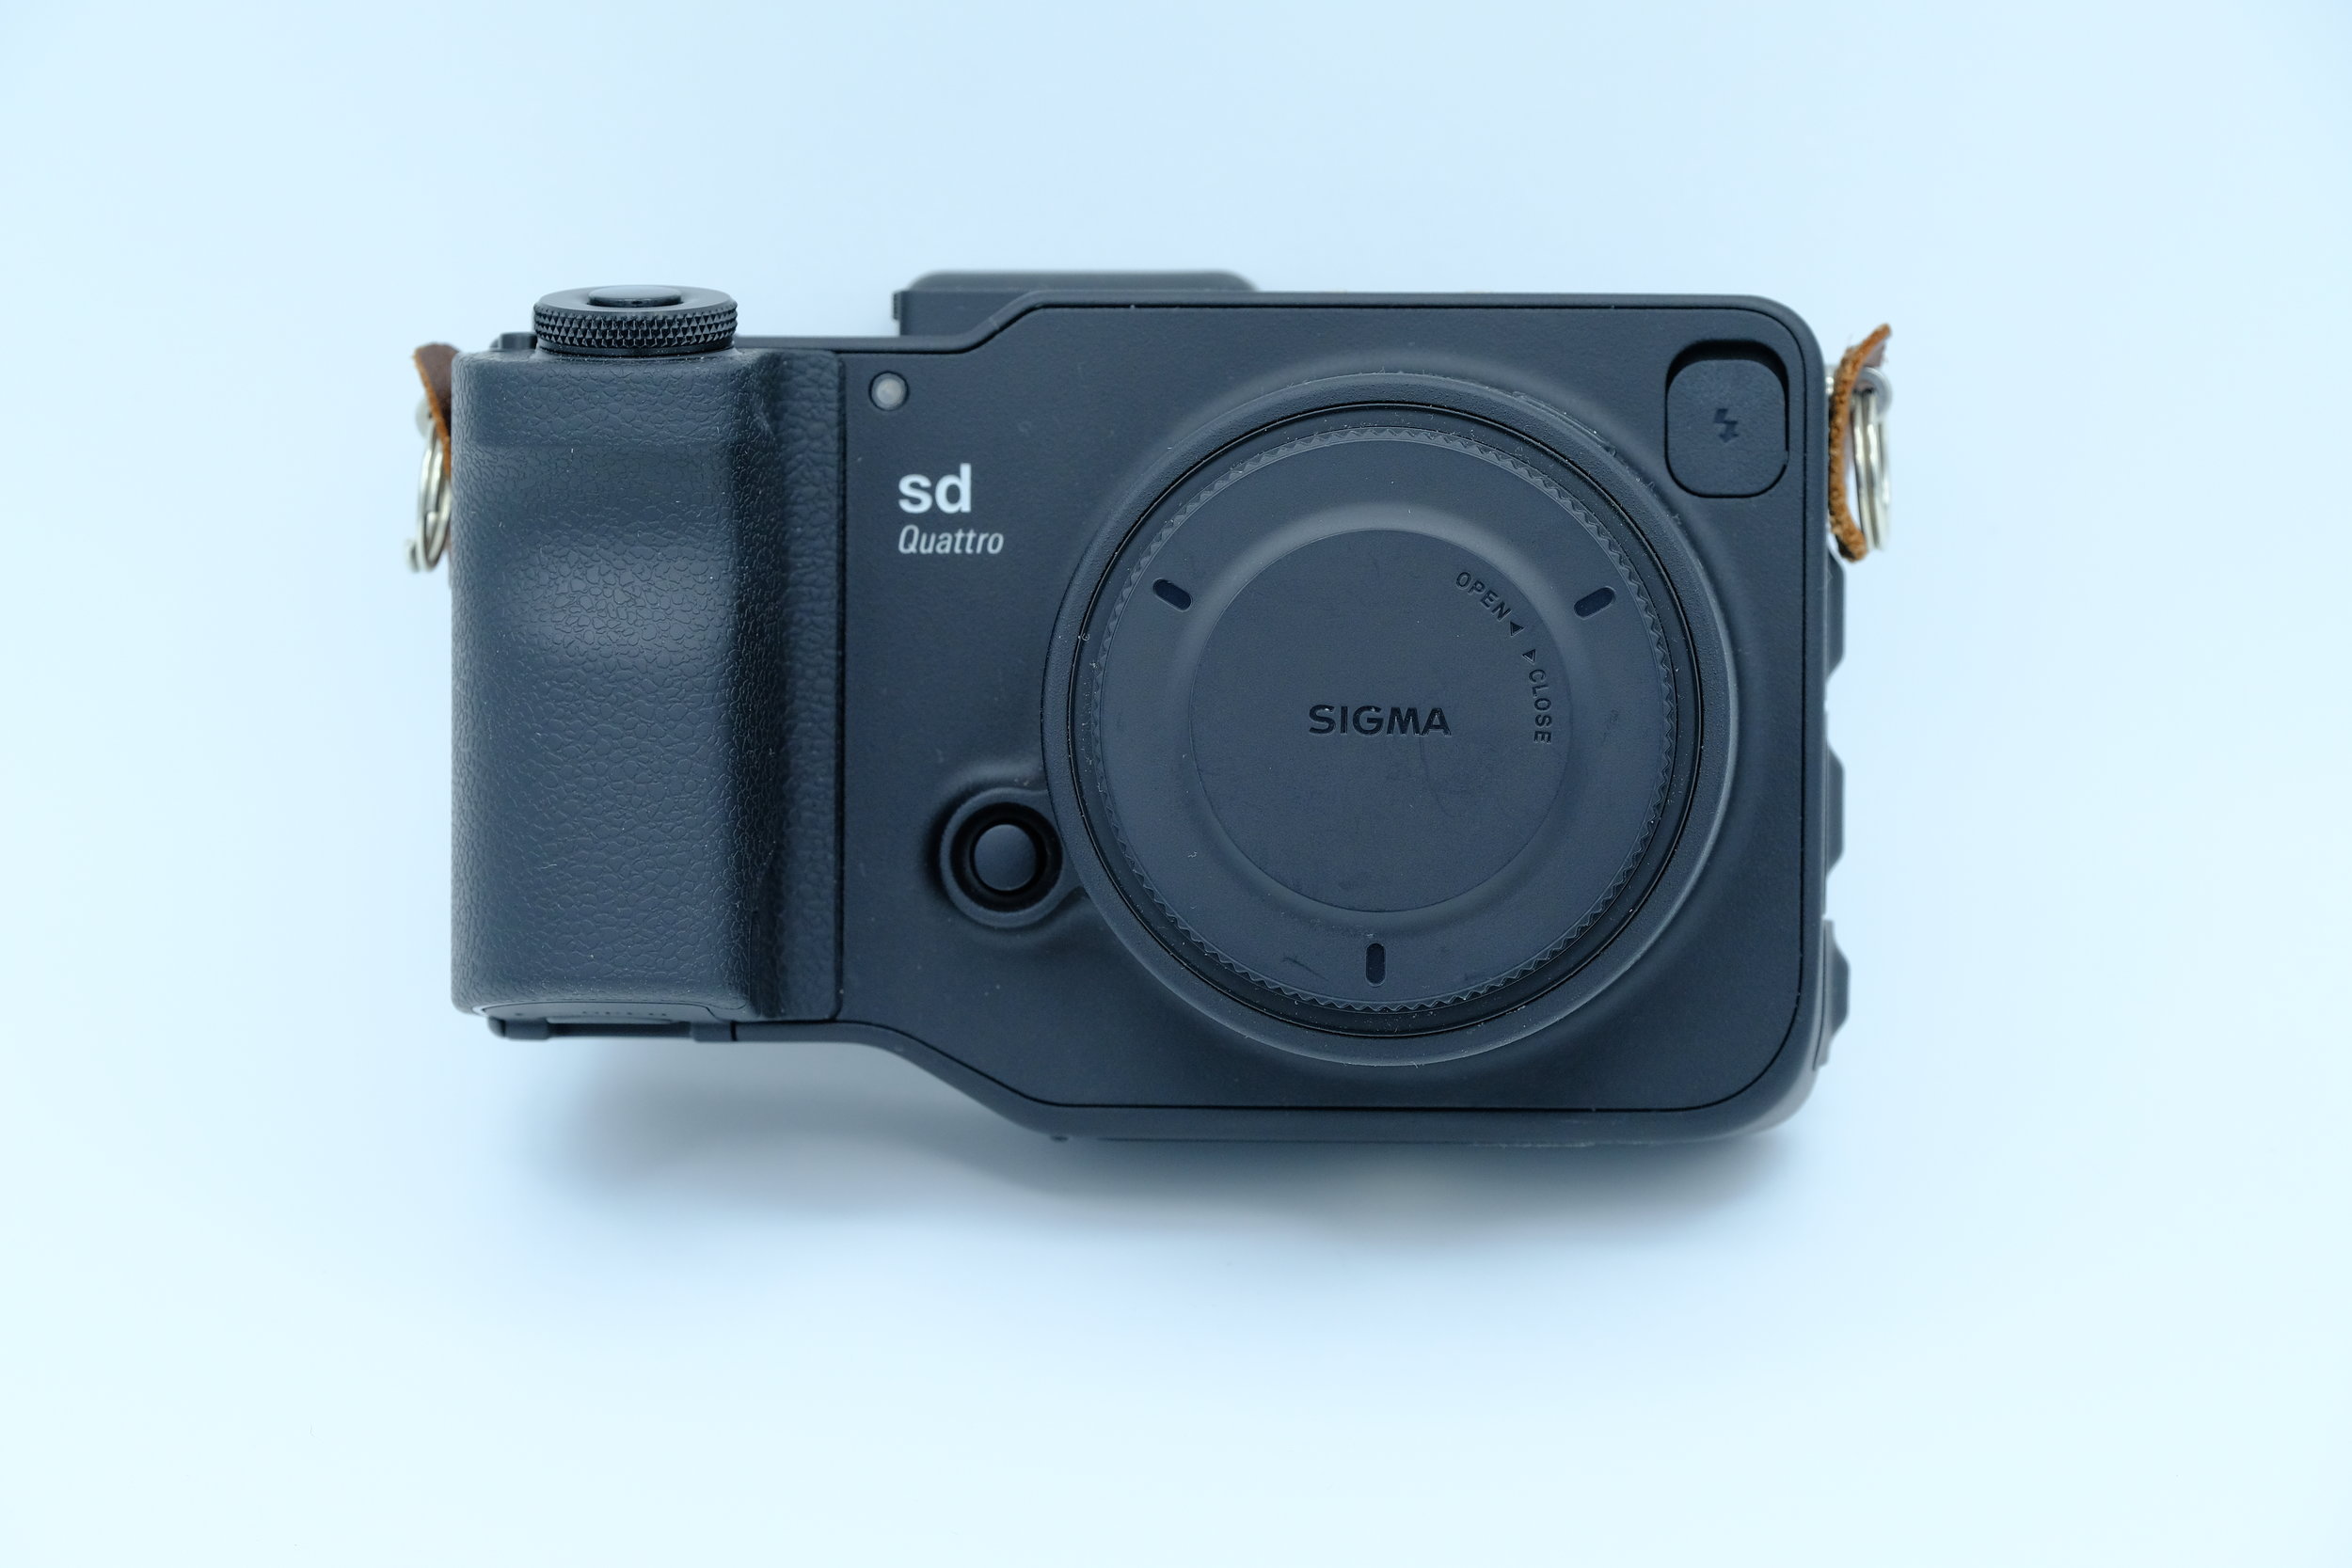
Sigma Sd Quattro without grip and front view, Body has same specs as the H model
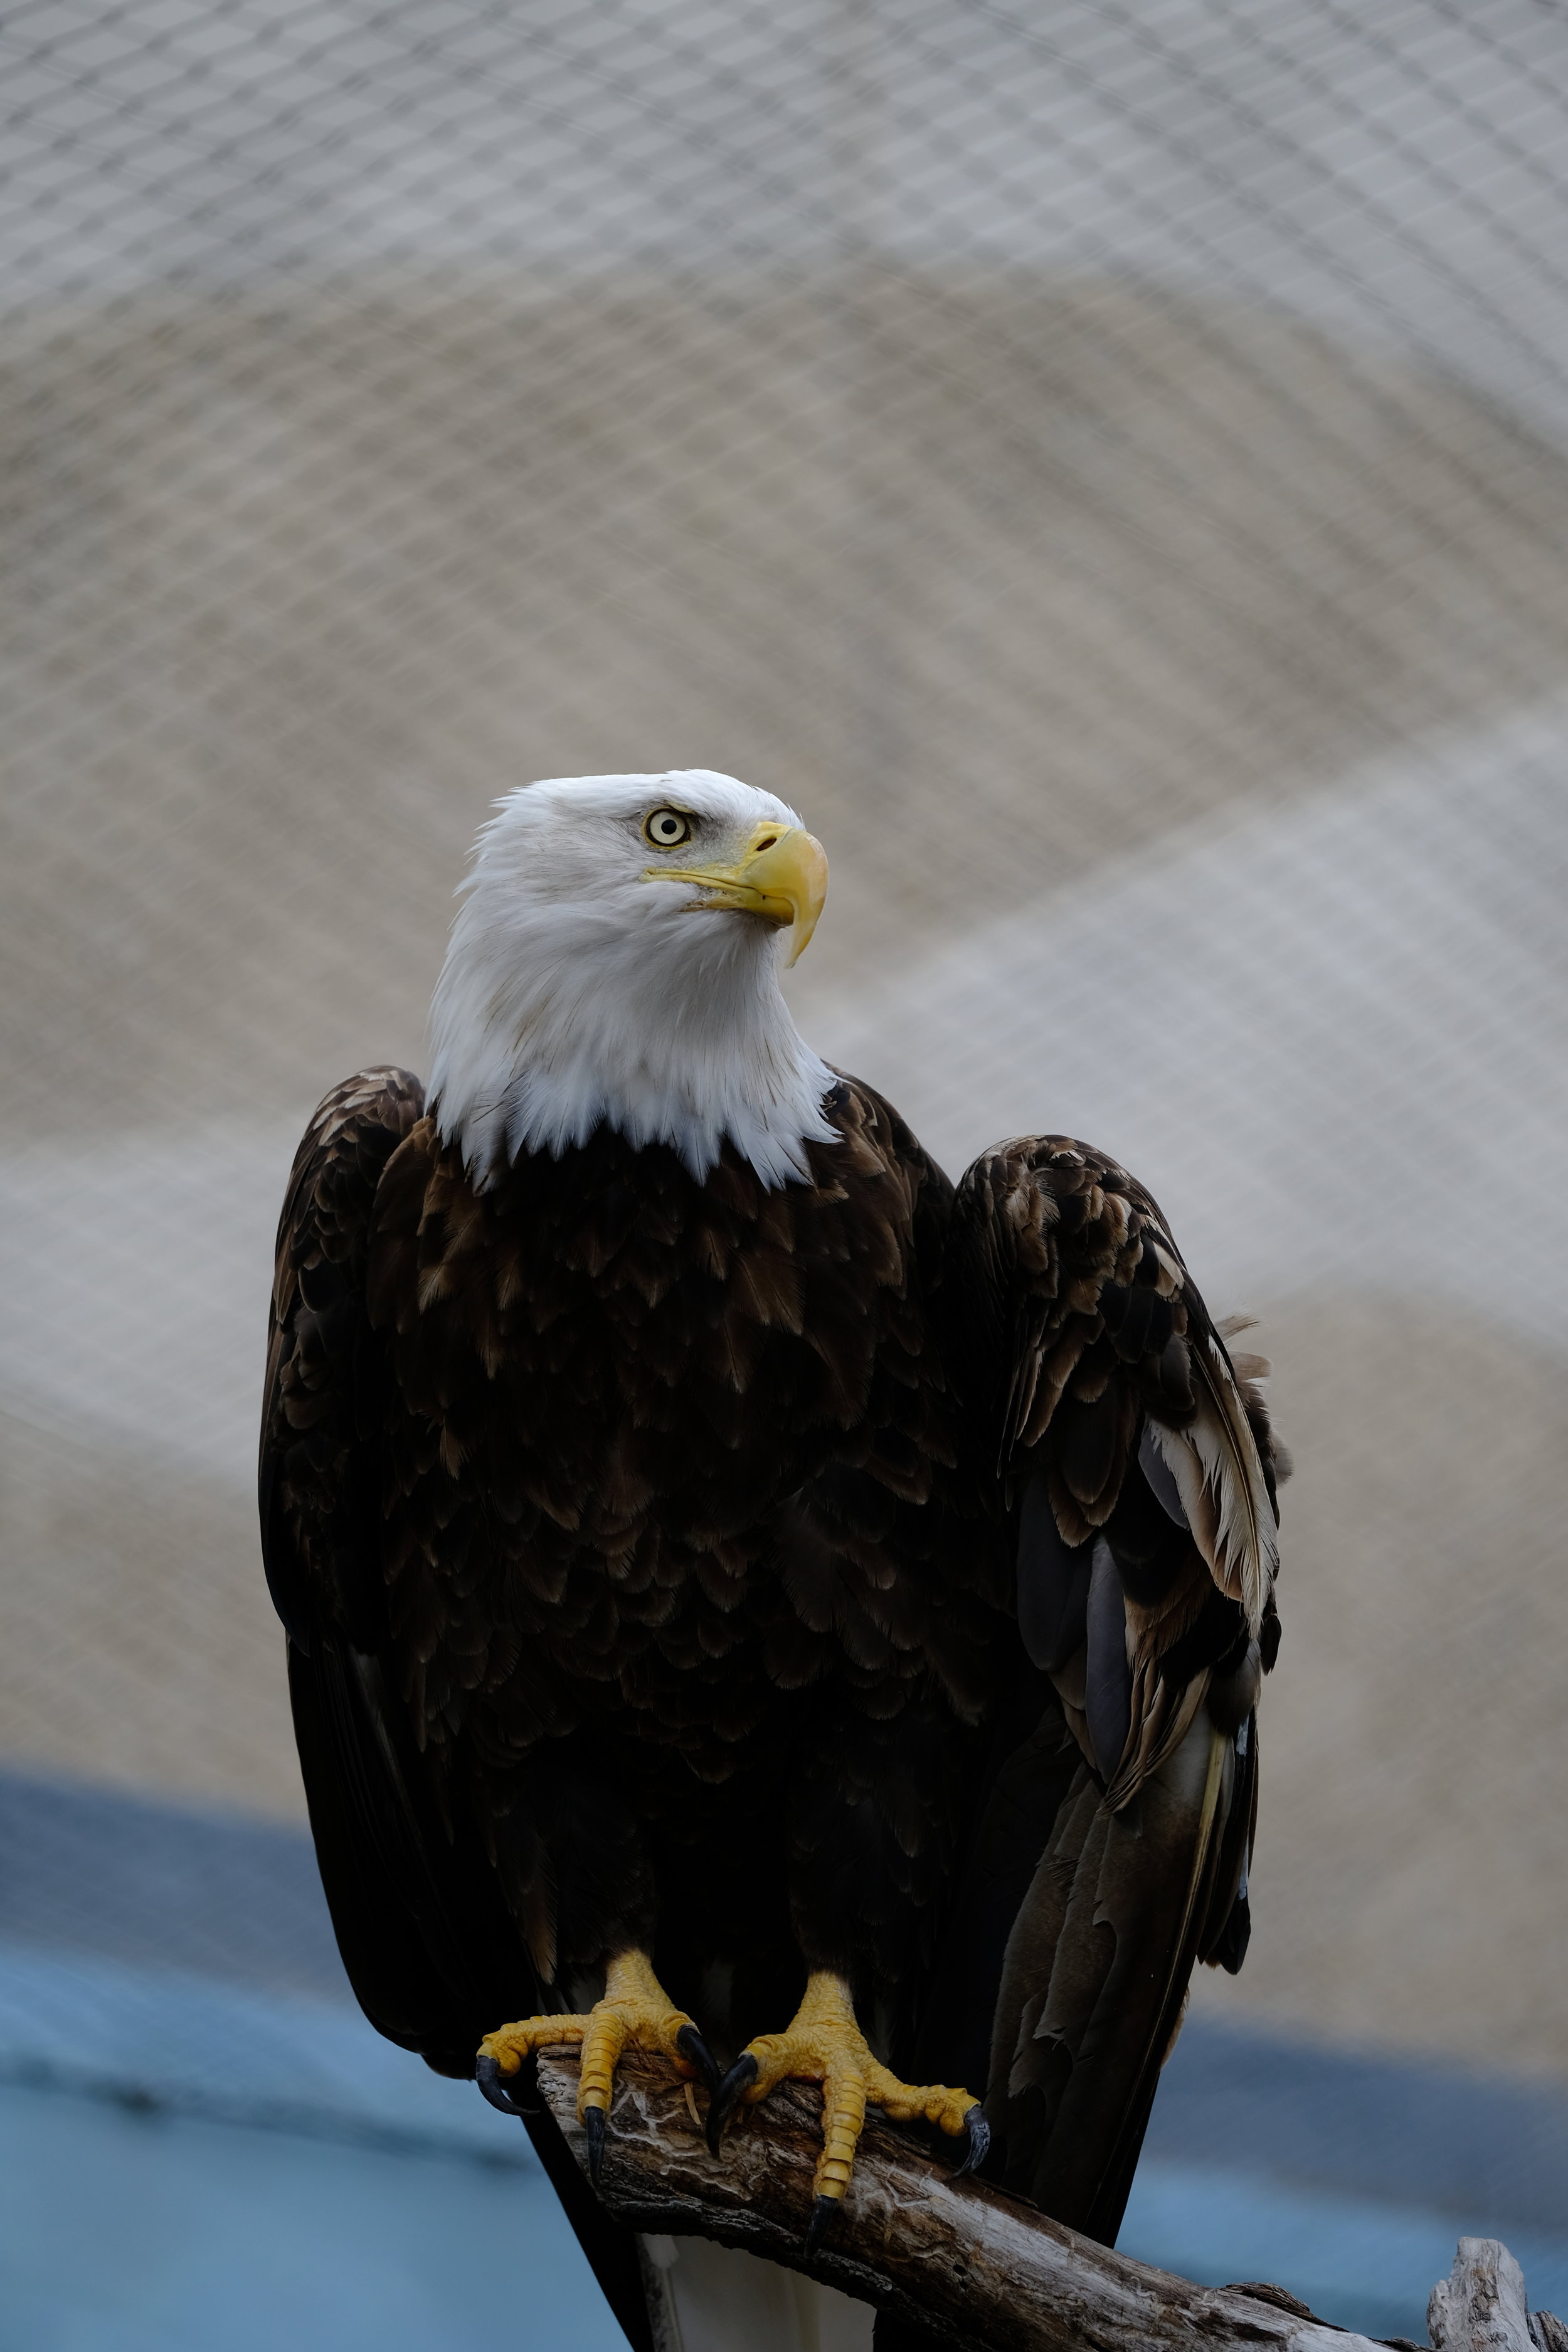
The next thing i will address it the image quality of the SDQH, I'm not going to get into crazy specifics because I am trying to show the average person what the camera can do not specific bit quality or pixel size or the debate between foveon and bayer. To put it simply the SDQH is a megapixel monster of that is no doubt. You can zoom in well past 100% and still have remarkable detail, even under less then favorable light. The prints you can achieve with this camera are basically on par with the Pentax 645z for detail but the 3-d effect you achieve with a larger then 35mm format sensor isn't here though sadly. But for 5 thousand dollars and some change less can you really complain? I can't and won't. For the portrait sessions I have used this camera on I really haven't wanted to put it away and use my other cameras. It is good, and the files are scary sharp. If you shoot in mostly jpegs like I do ( I know I'm a fool don't have to tell me ) the bnw files come out to be around 20-25 mb's and the color files can run 25-35 mb. If you choose to shoot in .dng or .x3f the files are ridiculous. The ones i have seen have been in the 100 mb range and more. A simple snap of a scotch bottle in my room was a 141 mb .dng and that was not a well lit photo that would push the dynamic range of the file. Here are a few websized images from a few shoots I have done with the SDQH.
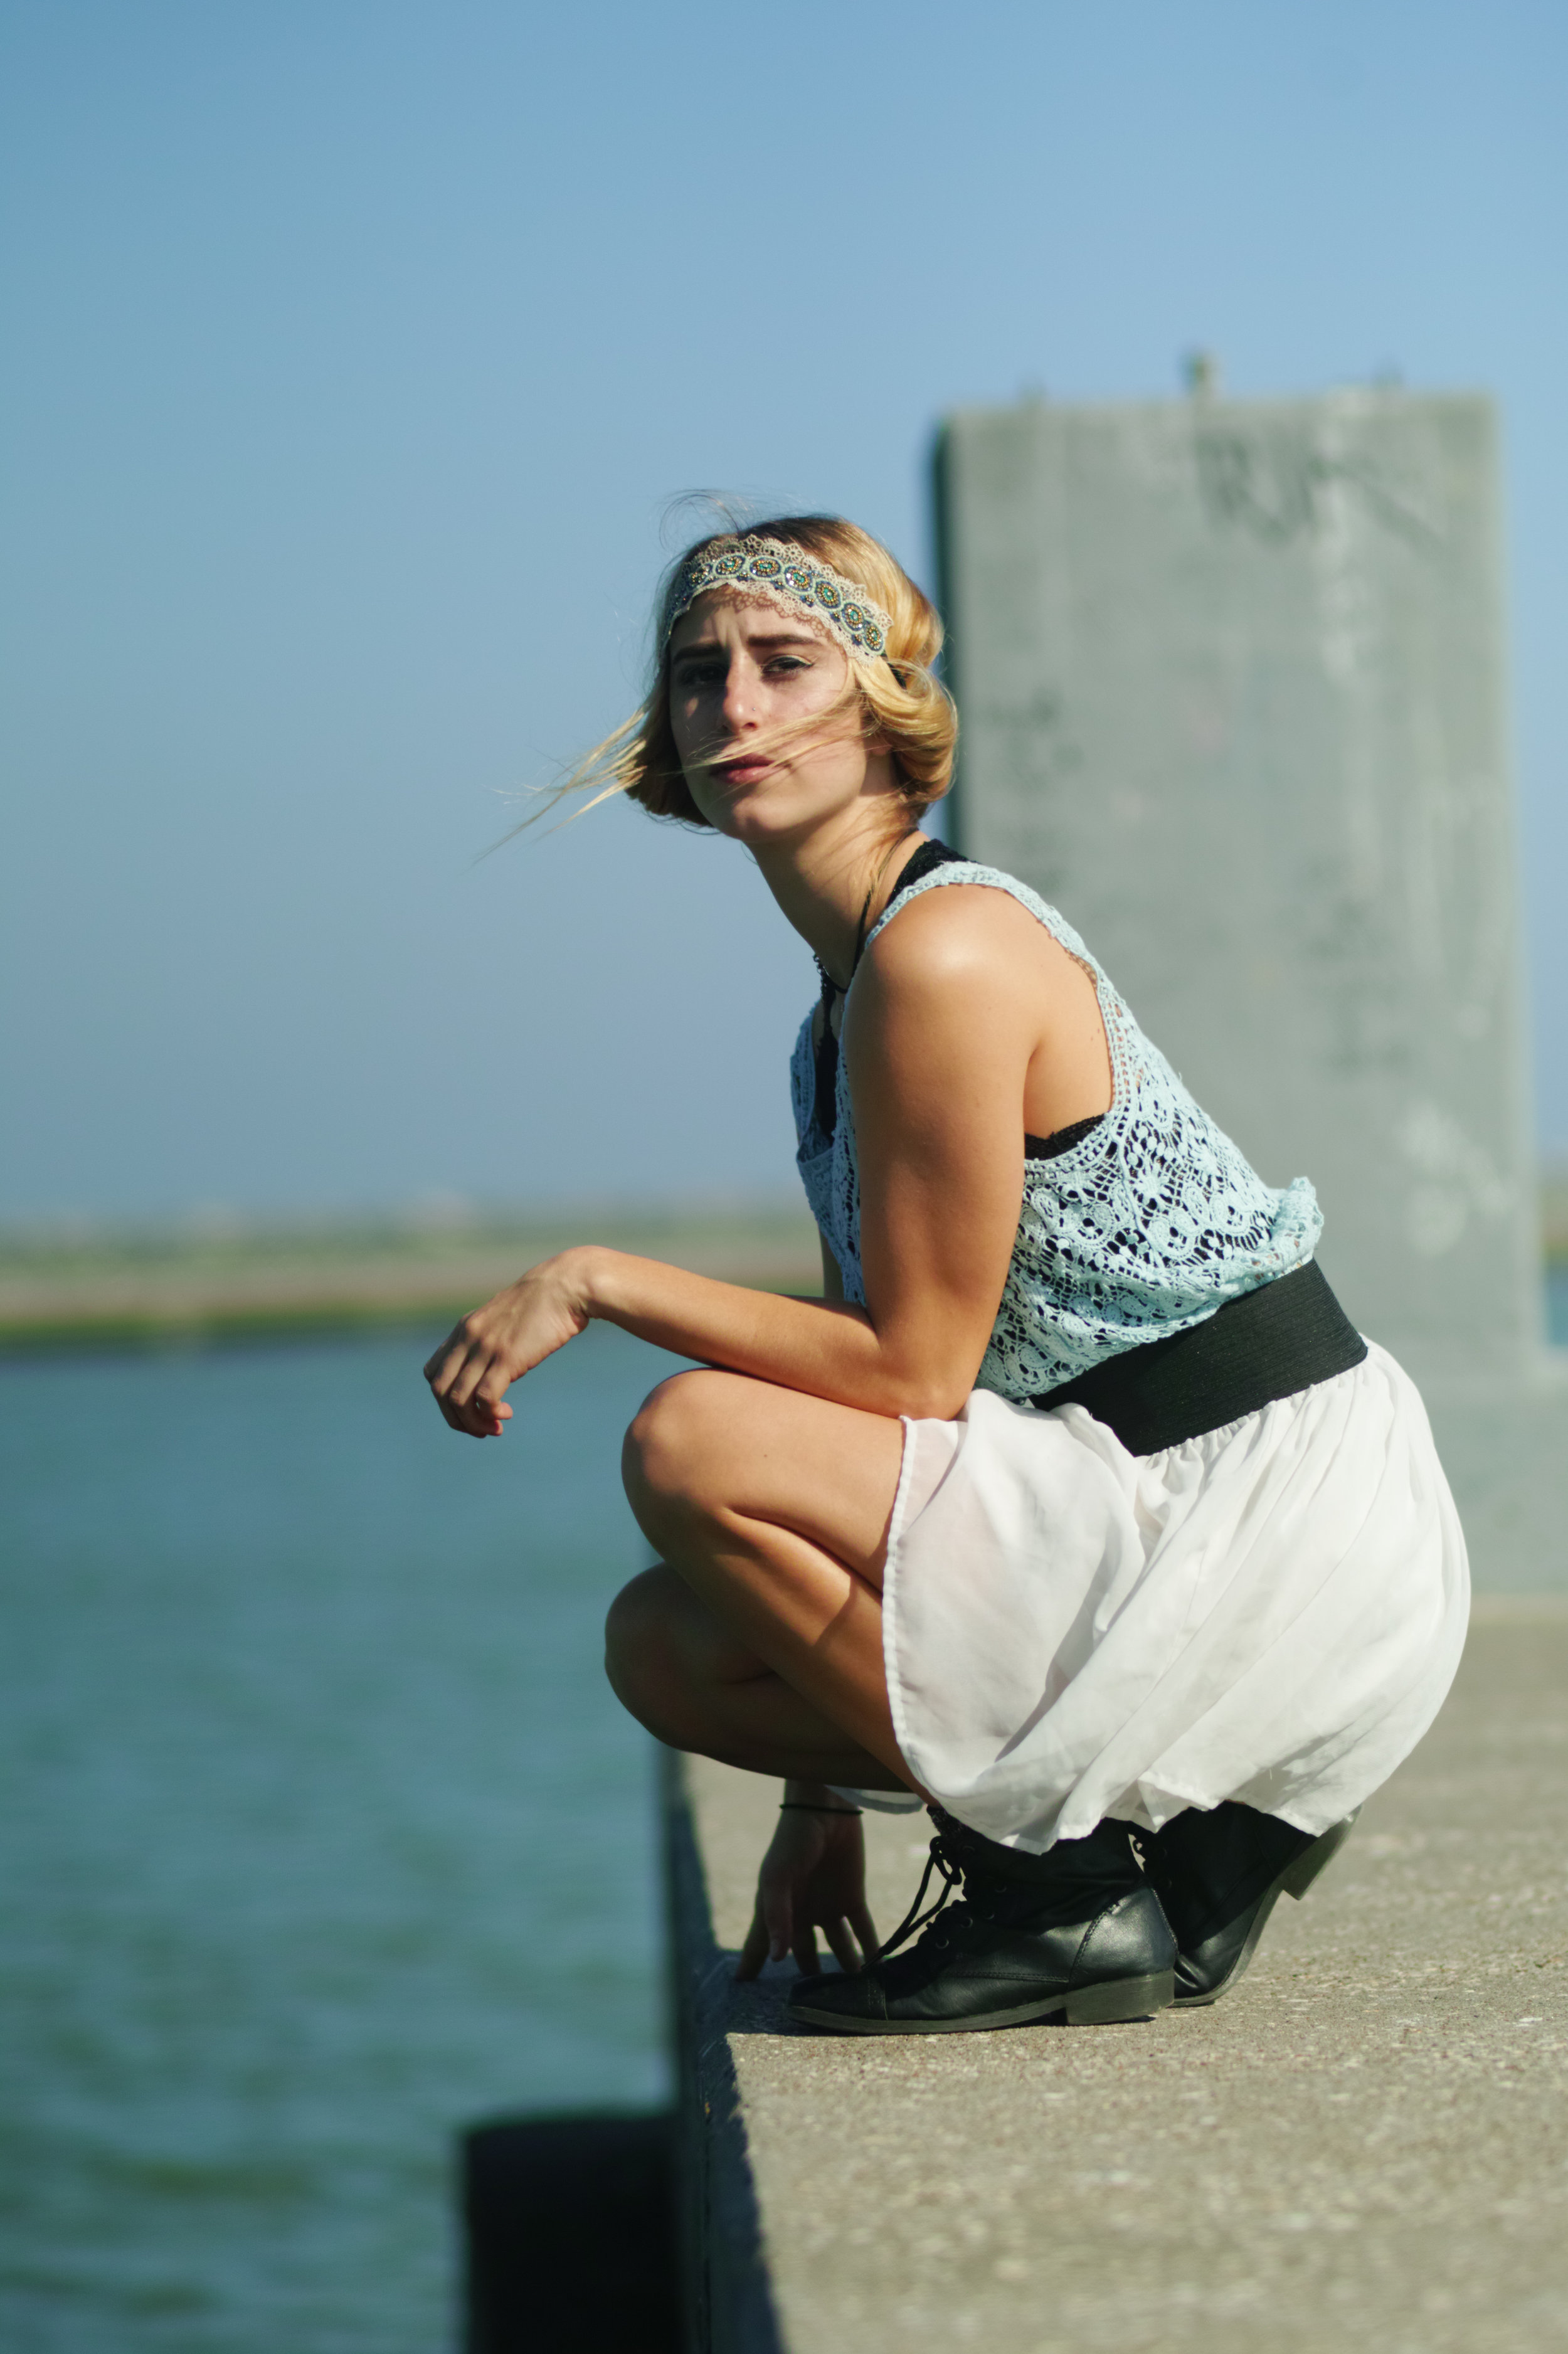
Bre by the Sea
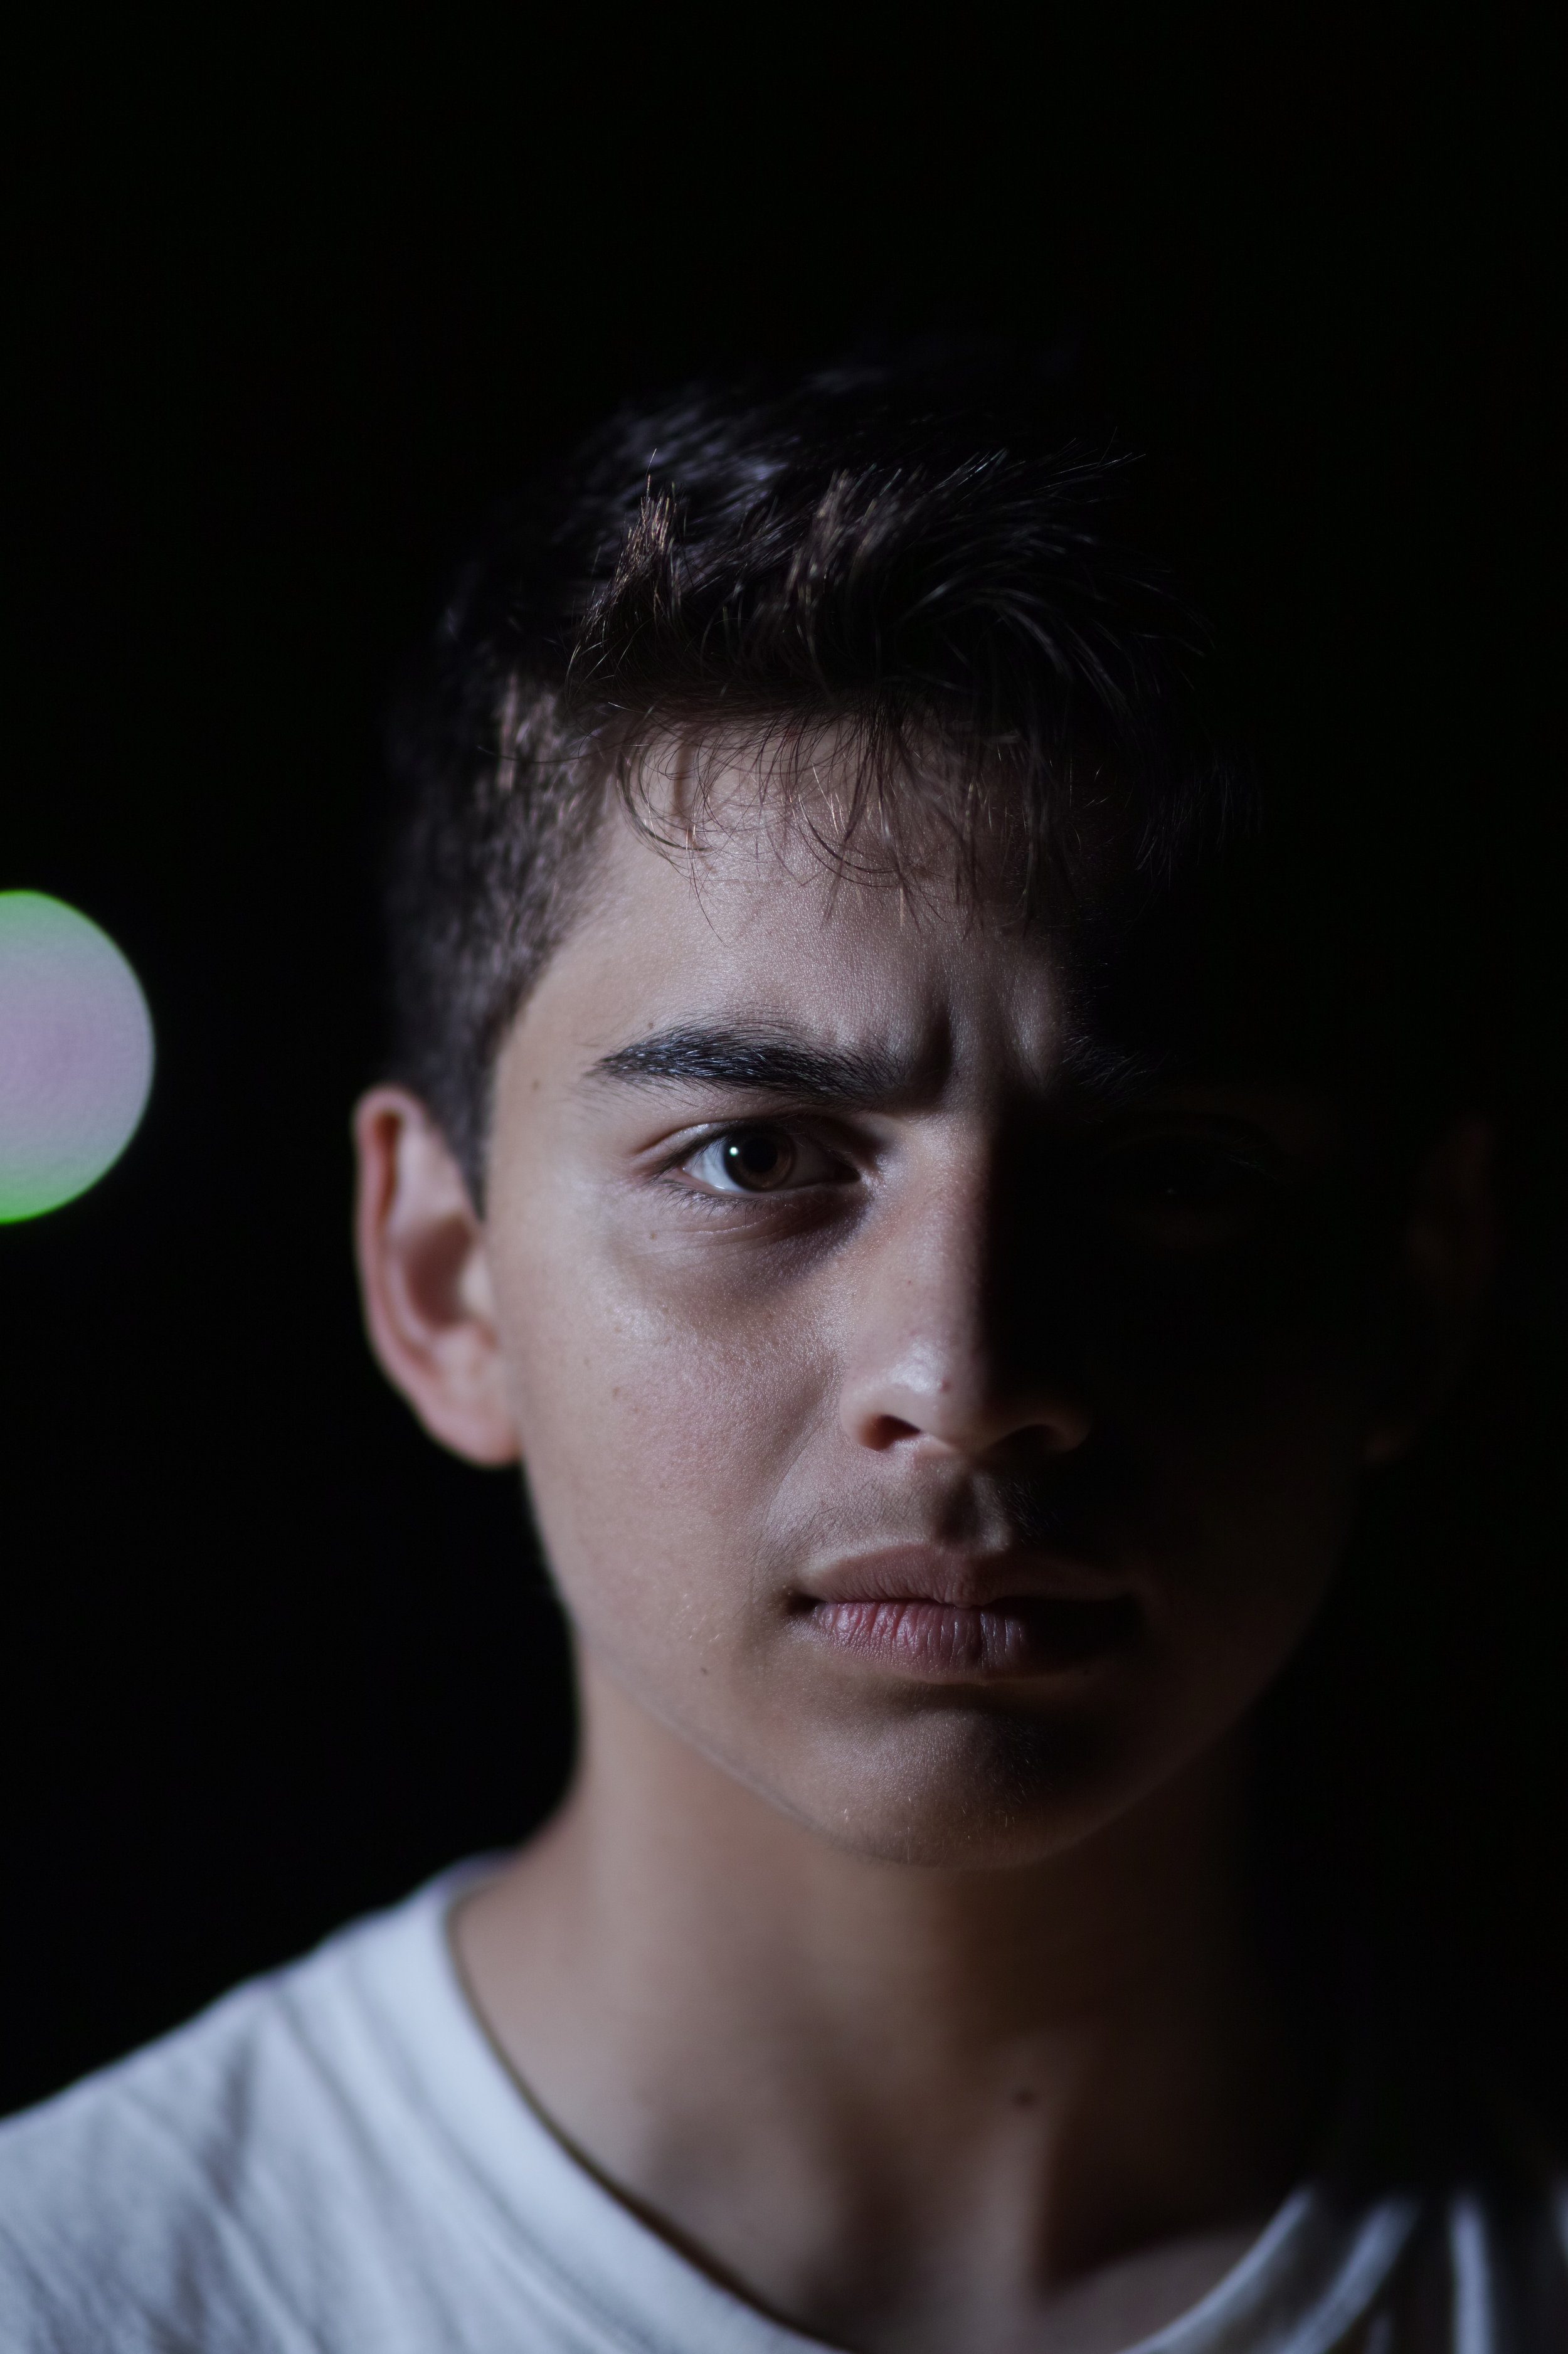
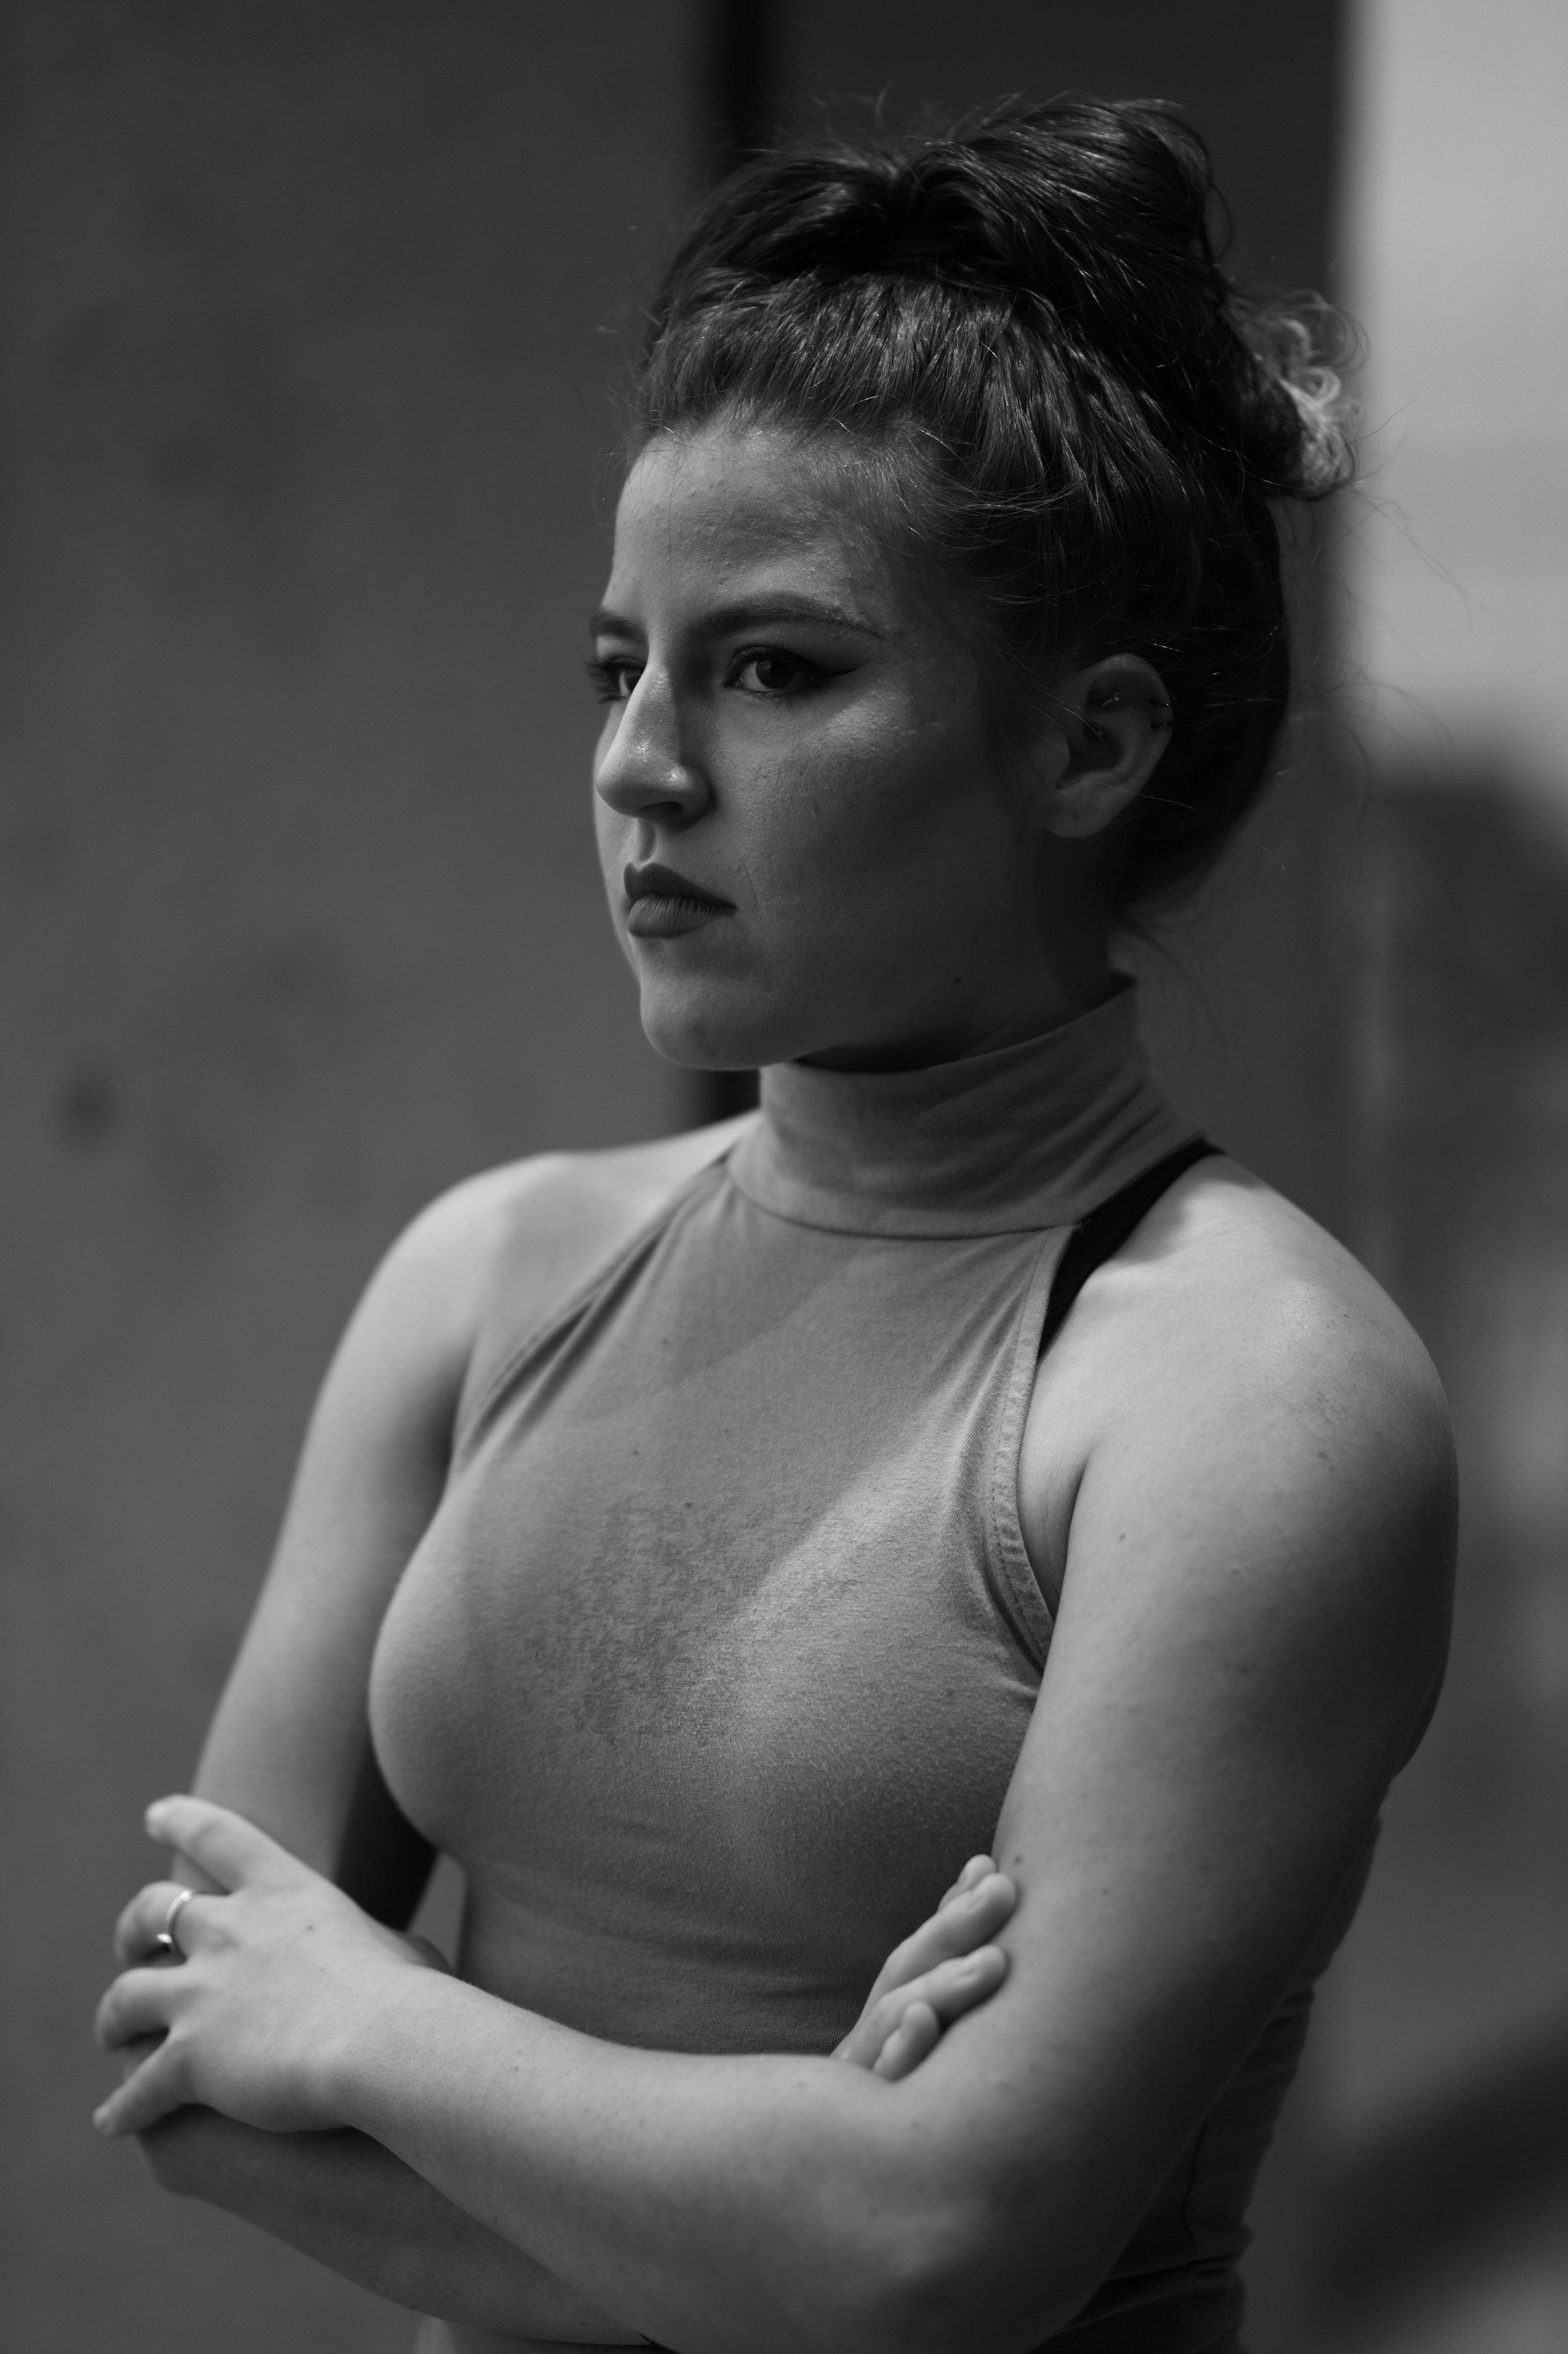
As you can see the camera makes awesomely sharp files and the bokeh from the Art series of lenses is quite pleasing to my eyes, it may not be to some bokeh-philes but for my purposes and to the average consumers it is quite fantastic. Now this brings me to the purpose of bringing up the lenses. They are central to this camera as are any lenses to any format or ecosystem of cameras, but for Sigma they are something special something a little bit above. The lens wasn't built to compliment the body, the body was built to compliment the lens. The lens are fantastically sharp and manage to create very pleasing images in terms of color reproduction and bokeh.
Cons-
I promised to always be fair and unbiased in my reviews and as much to pains me to do this to a camera I love... I have to be true to you my reader. The auto-focus is accurate, but slow, and when I say slow I mean you can fall in love with your model, start a relationship, start a family and watch the grand kids play in the front yard before this thing focuses. That is my biggest complaint with the system, the high iso performance isn't great but that's expected with a foveon system because of the sensor architecture. The foveon is built in three layers of color instead of a mosaic patterned sensor. This means the light and color is more accurately reproduced but at the loss of low light performance. That was a trade off I was willing to make. That's also a choice you have to make if you want to experience foveon magic. Also a word to the wise have fun learning the off camera flash game with this camera. It has made me a better man that's all I will say.
Conclusion and Final Opinion-
The Camera is a MegaPixel monster as well as a hot mess, but that's ok with me. I like to think I am a fairly technical photographer and I like to shoot and re-shoot till I have a image I'm happy with and the SDQH is really great if you want a camera that challenges you but creates a fantastic image if you're patient. The system isn't a upcoming system as foveon and Sigma have been producing camera's since 2002, you would hope that they would have more complete ecosystem and it is fairly deep in regards to lenses and flashes, but I wish they would make off camera flash more universal so that wireless HSS and TTL were available. But all in all I really enjoyed the camera and its quite fun to pixel peep, if you're into that kind of thing. But then again who isn't. Overall rating 9/10.
Sincerely, The Bird